
Custom Arched Panels & Drapery | Window Treatments
by Haus of Blaylock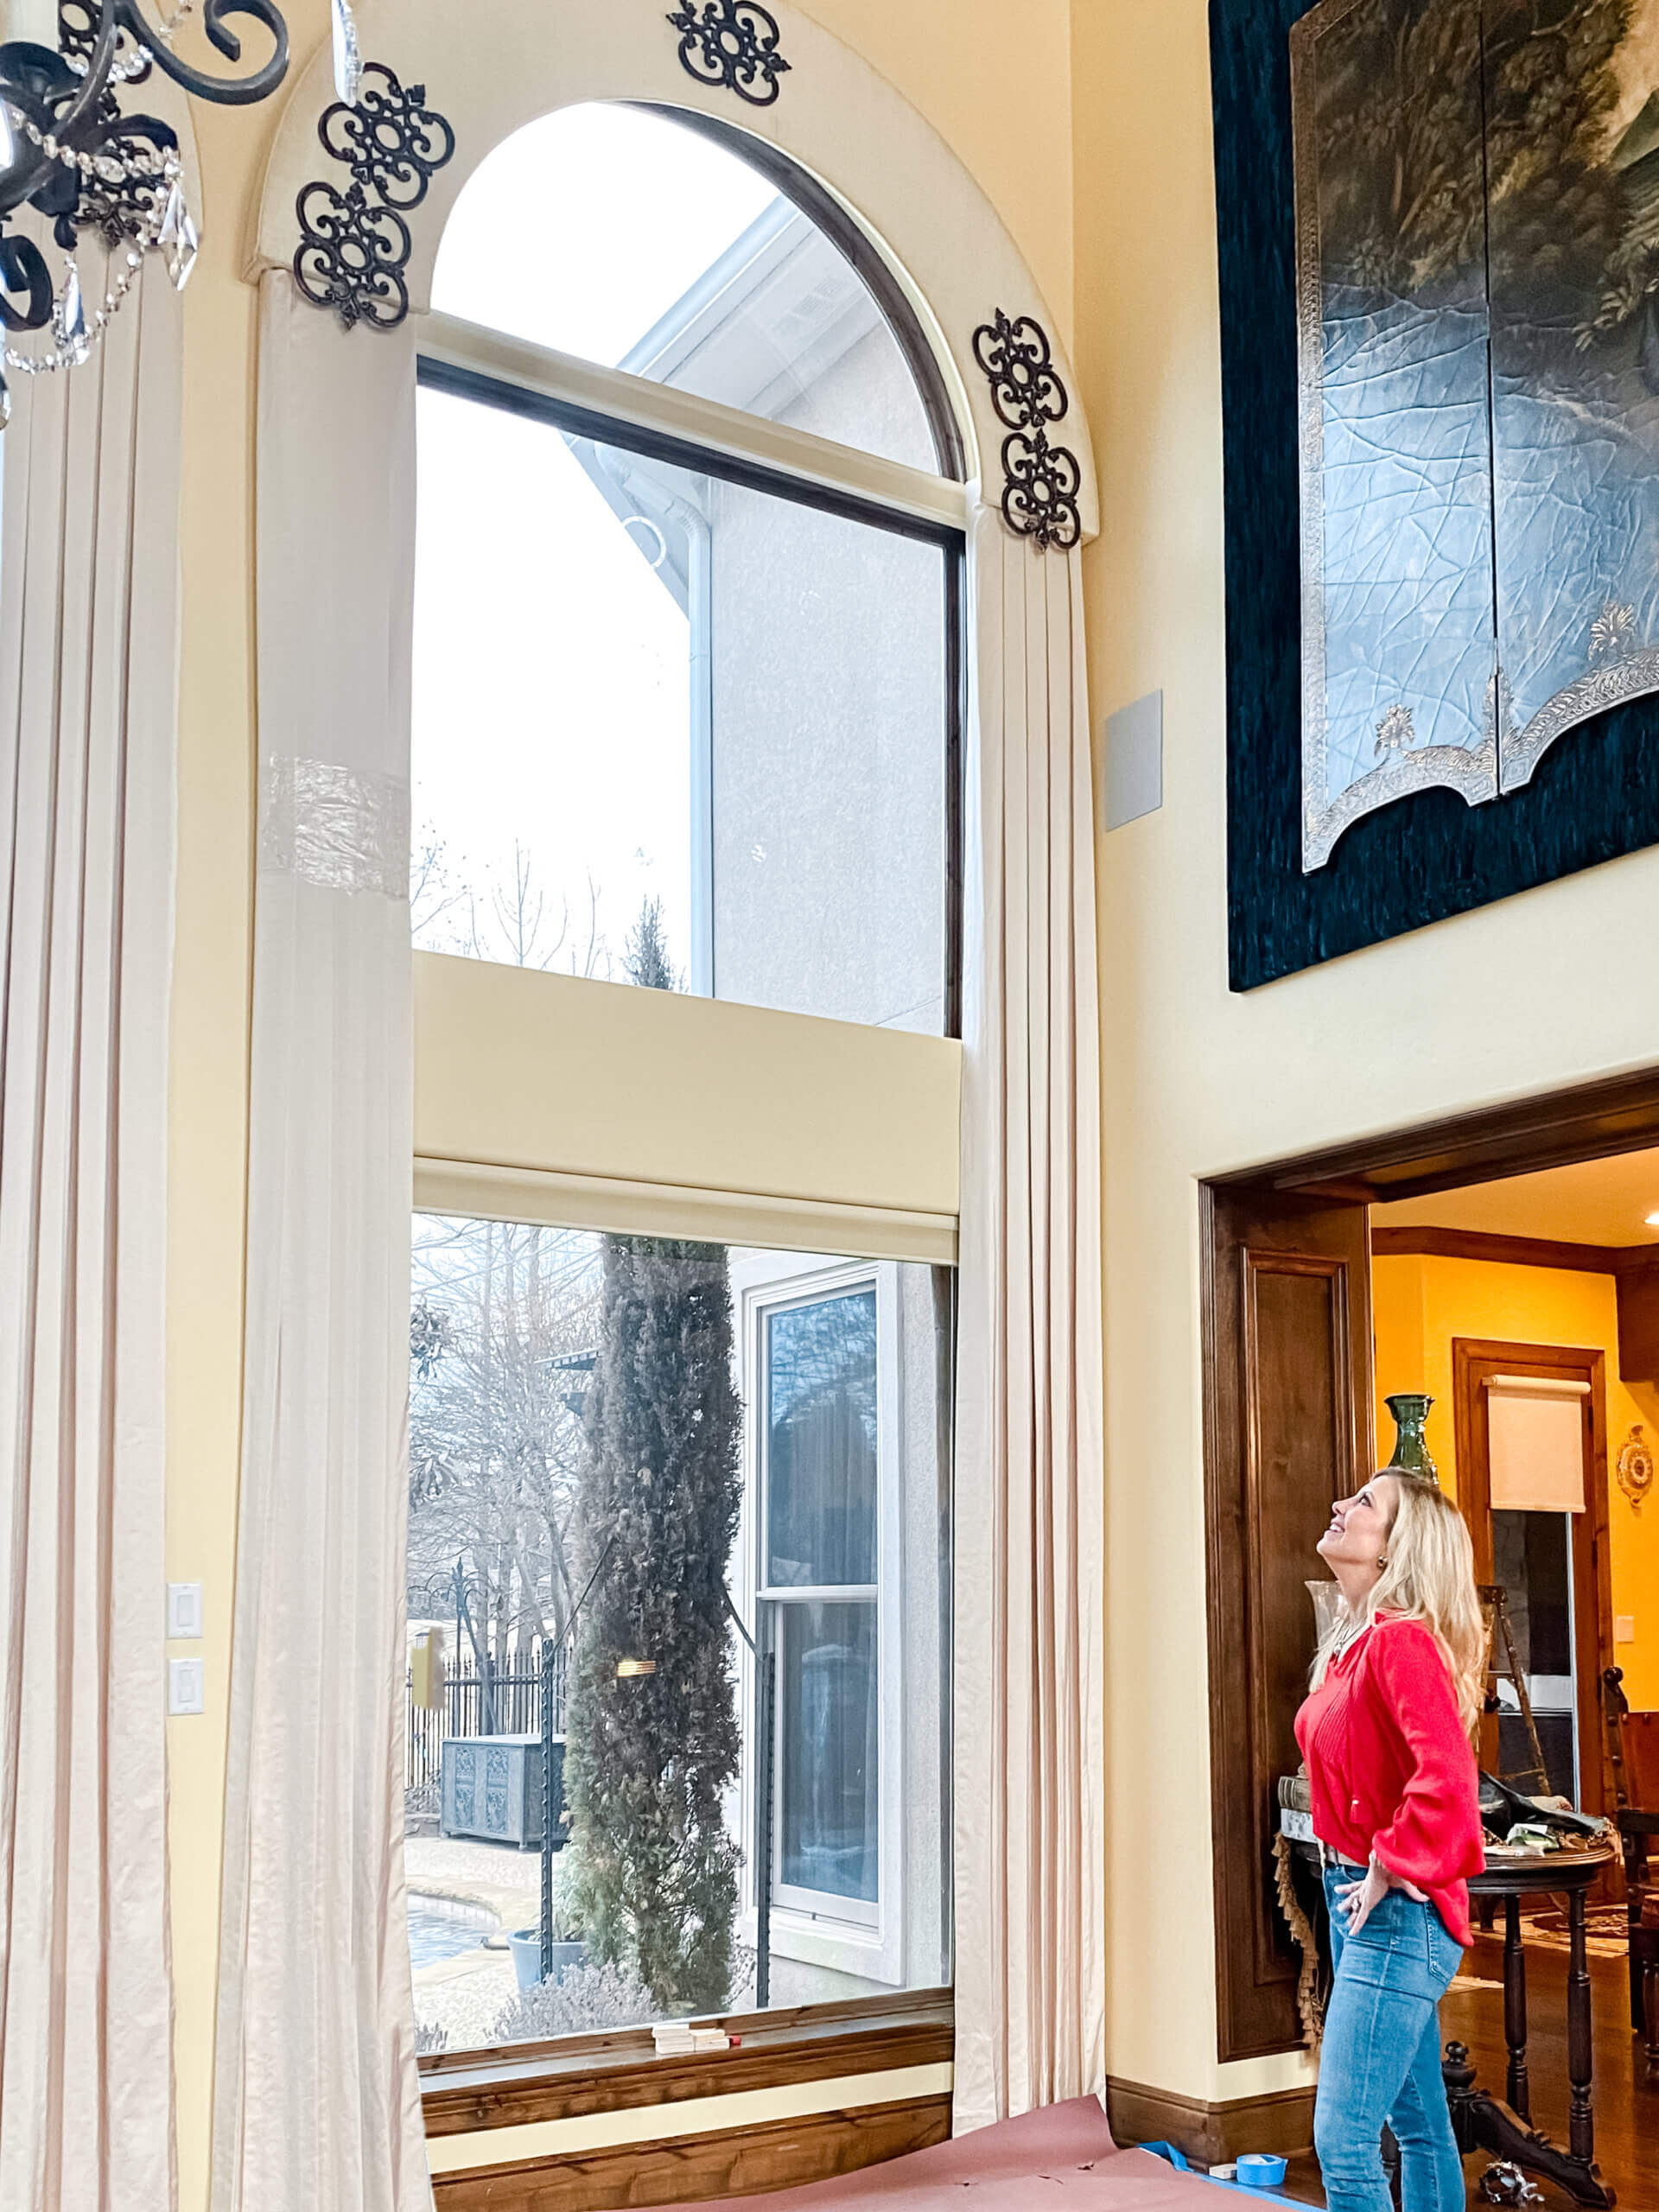
Measuring
Measurements are extremely significant when it comes to designing window treatments. You need to be aware of where and how they’ll be hung to allow for enough fabric to be used, but just enough so that the drapery is hung straight and sits elegantly on the floor. Selecting the material used for each panel, how far apart each panel will be, how far I wanted them to come down into the window are just some of the additional steps I take to ensure my clients receive the best of the best when it comes to arched windows.
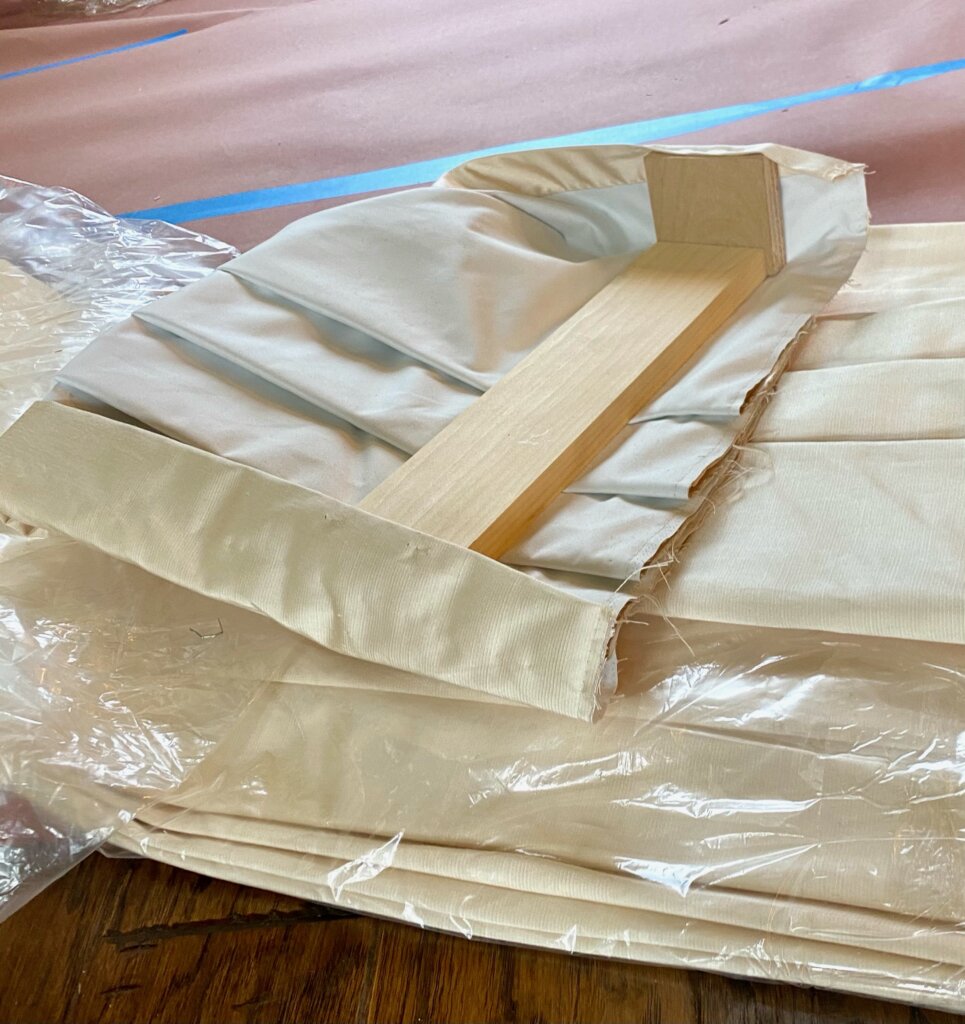
Building an arch is not as easy as building a box. So for this particular project, I hired a trim carpenter to ensure the arches were built correctly right down to smallest measurement. They had to be built perfectly to fit.
Covering the Arches
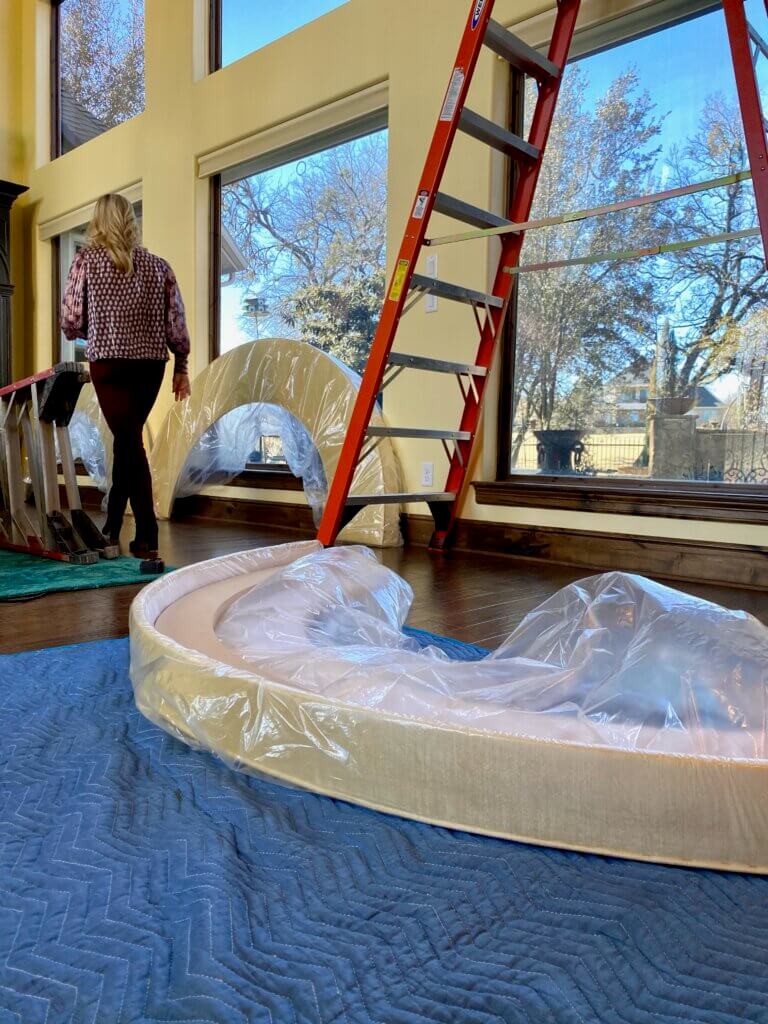
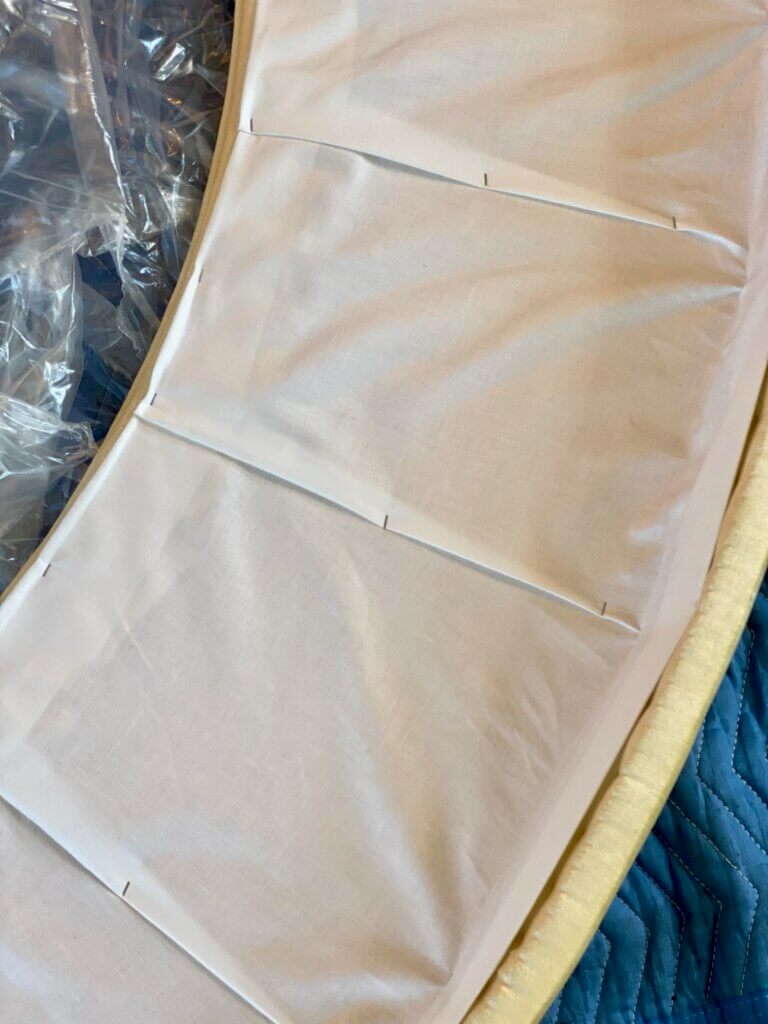
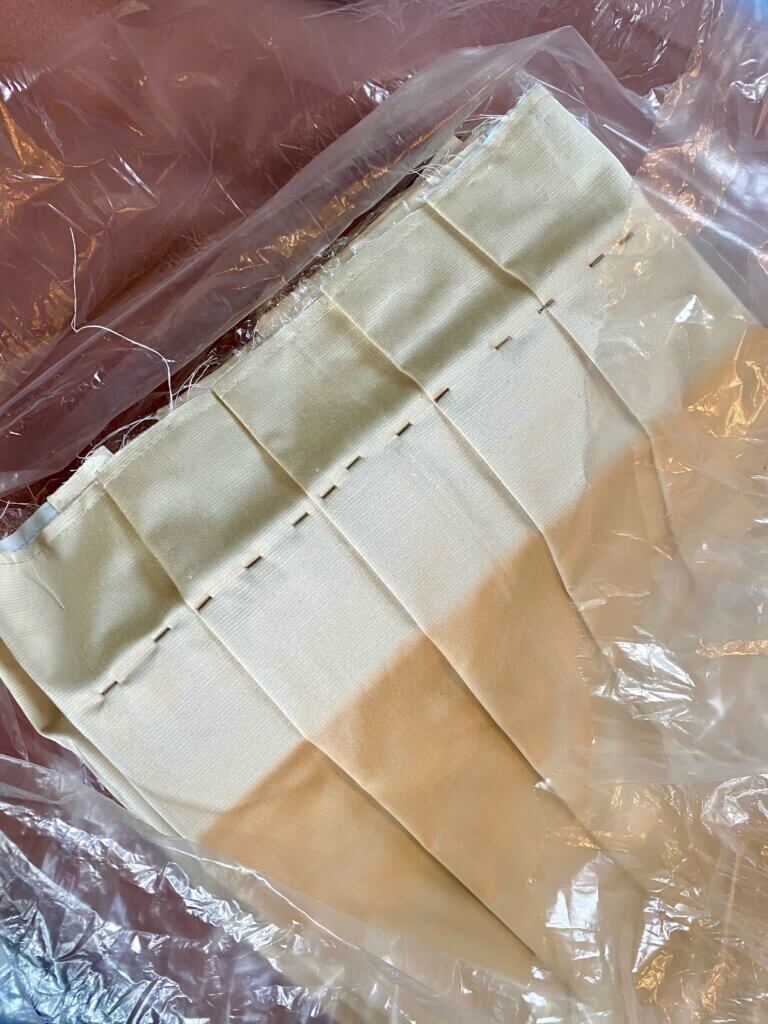
First, I cover with batting to soften the edges and the look, then cover with the fabrics. Once covered with the fabric, you have to make sure the knap is going in the right direction. One direction is dark; the other is lighter. Most of the time, you show the knap goes down unless you prefer the color when applied the other direction. Applying to an arch is a more complicated process. Since it is rounded, you’ll need the fabric pleated and measured perfectly to fold over so there are no bulking pieces and also parts softly. The next step is to apply a cording for the border on the board. This gives a cleaner, more precise outcome. The final step is lining the back to cover up the fabric’s staples and frayed edges. My cornice boards look just as pretty on the back as they do on the front Most people don’t think of doing this, but you have to remember that when you’re outside, you’ll be able to see the interior of the boards.
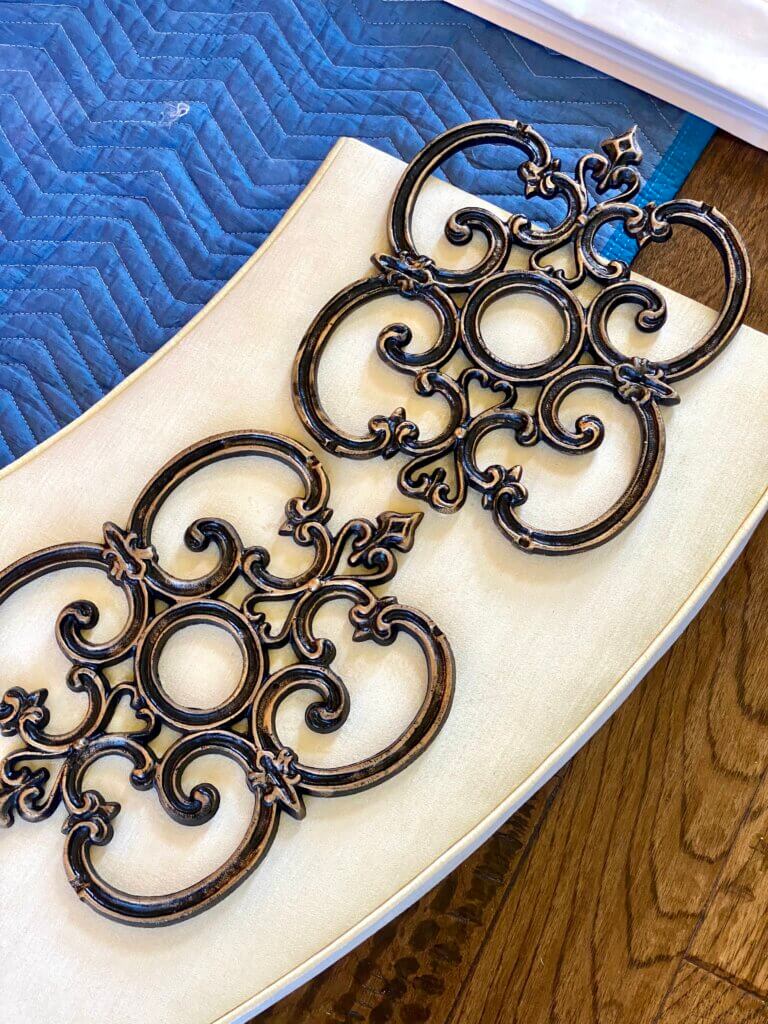
For this project, my client wanted a decorative element on the boards. I selected multiple iron styles and chose one that would look best and match her decor. I also made sure that I found a larger piece of iron that had the perfect center, then proceeded to cut off parts of it so that the center of the iron became the ideal medallion to apply to the boards.
Once the iron was cut, I custom painted the medallions.
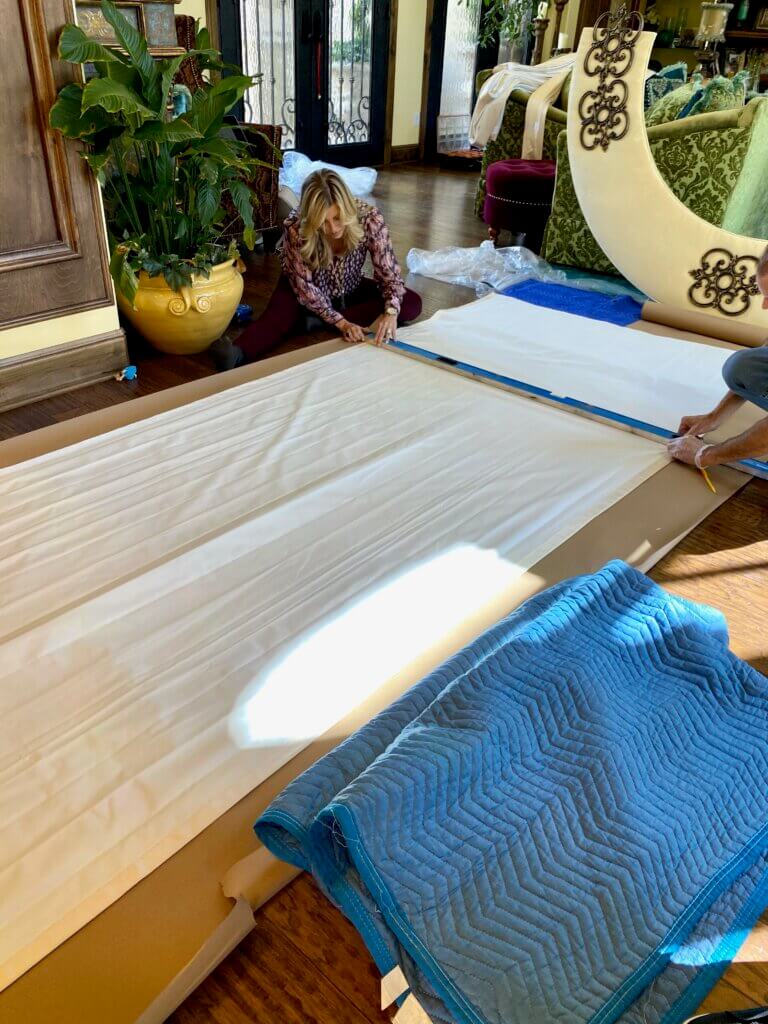
Sewing Drapery Panels
To install the arches and panels 18 feet up is quite an undertaking. Not only is the height a challenge, but the weight is too since the drapery panels are so long. It took assembling scaffolding and having two crew members hold it up to see how I wanted them to be installed. Once I decided how I wanted the finished product to look like, I decided the best way to install the panels. Usually installing panels is very basic, but since this was an arch, it posed multiple problems. In the end, I decided to have the panels attached/stapled to a separate board to control the height and how they would look.
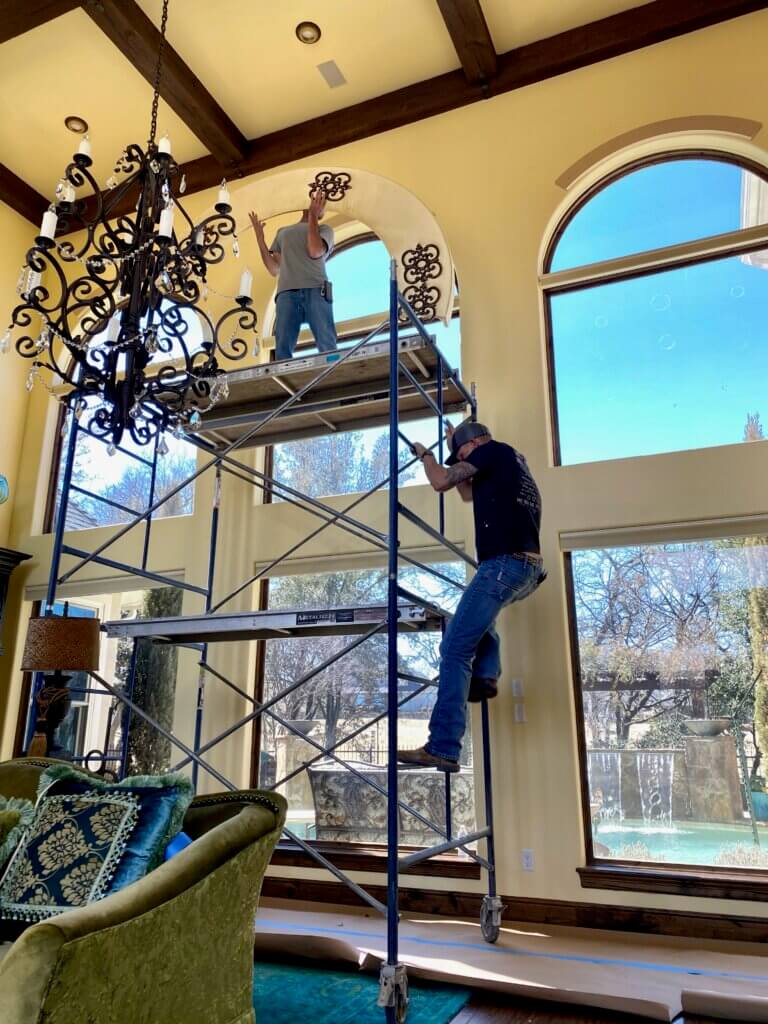
Attaching the panels to the cornice board was a little complicated due to the weight and making sure it hung properly. It took some work, but we were able to attach the iron and the panels directly to the board, and it’s all hung on a special arched mount that the trim carpenters built.
The final touch was steaming the drapery panels so the pleats would look perfect.
This install took a lot of trial and error, but the final result is exactly what my client desired. She was thrilled, and so was I😃 This amount of work and planning is the epitome of custom design. I love knowing I created something special and one-of-a-kind for my client!